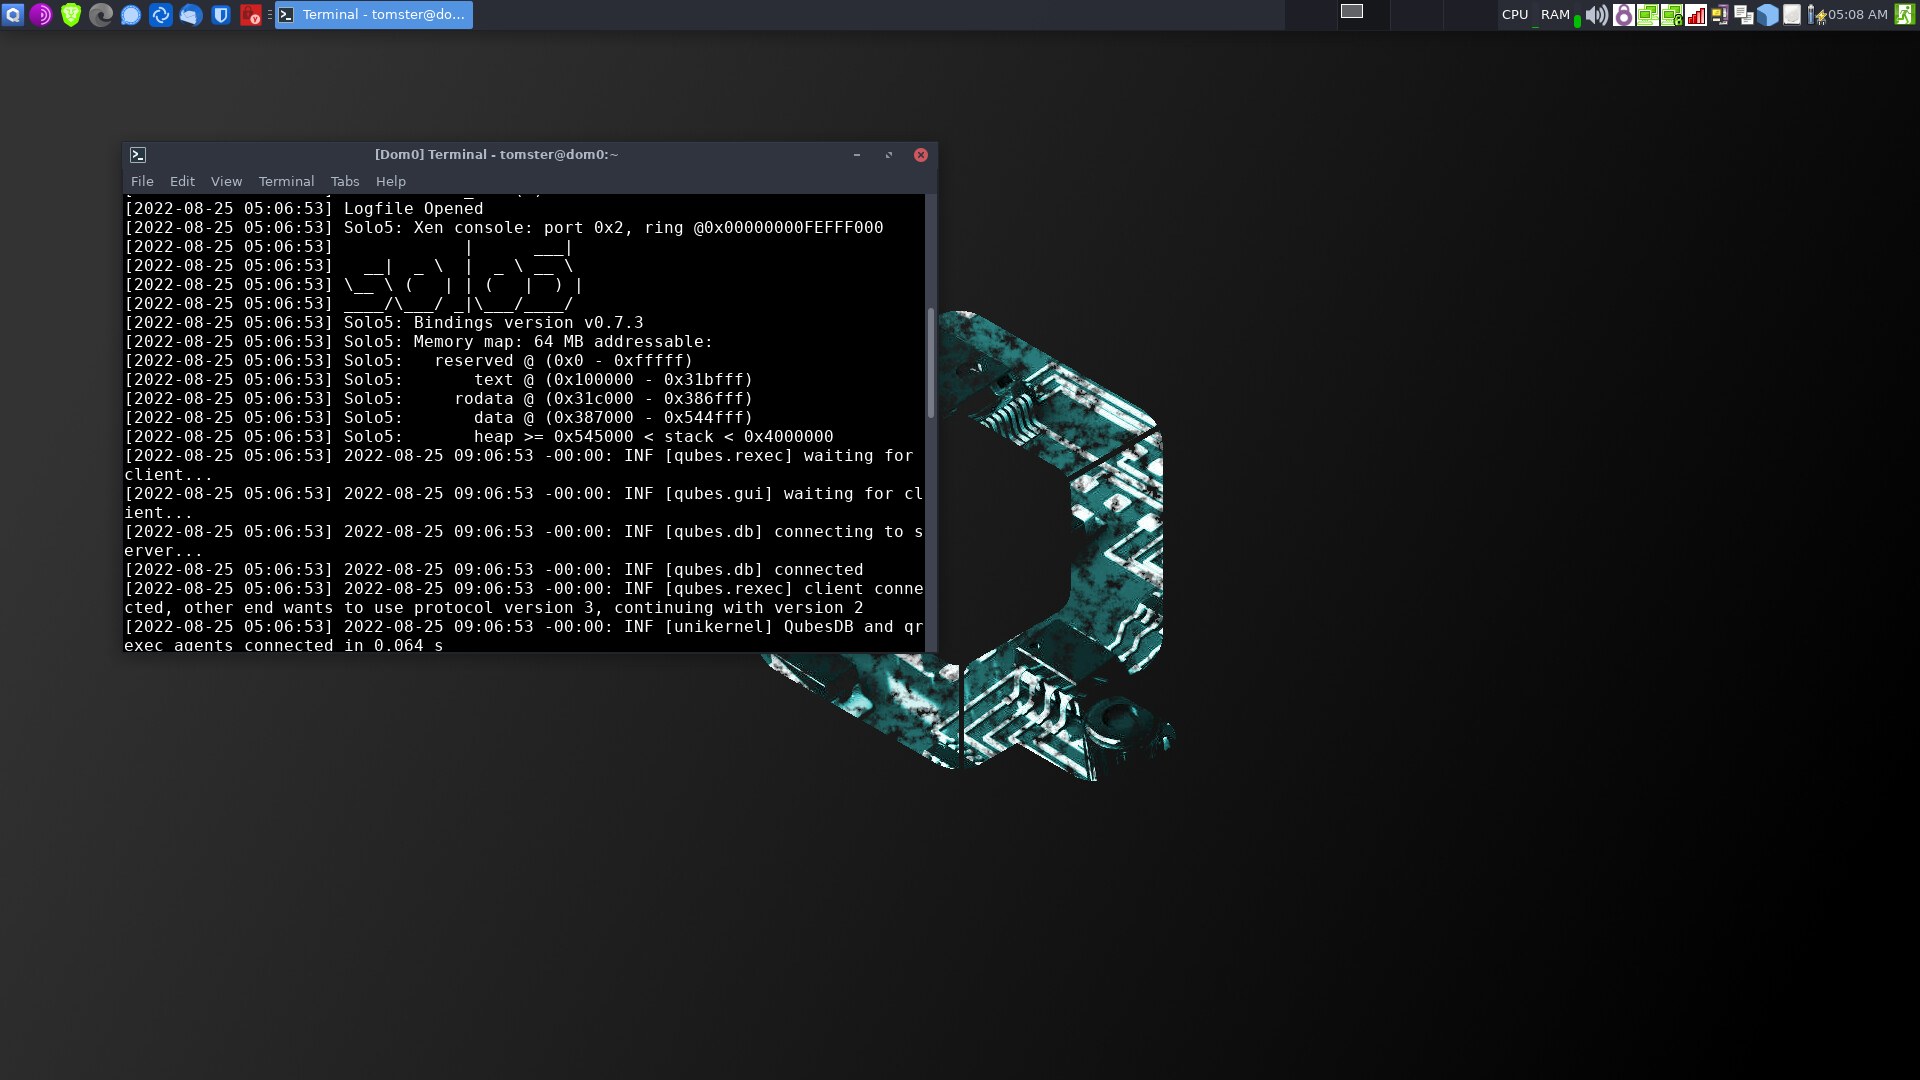
MirageOS is a library operating system with which you can create a unikernel for the sole purpose of acting as Qubes OS’s firewall. In this post, I will walk you through how to set this up.
Advantages
- Small attack surface. The unikernel only contains a minimal set of libraries to function, so it has a much smaller attack surface than a general purpose operating system like a Linux distribution or openBSD.
- Low resource consumption. You only need about 64MB of RAM for each instance of the Mirage Firewall.
- Fast startup time.
Disadvantages
- No official package for Qubes OS and while Qubes Mirage Firewall is still maintained, it has not had an official release since 2020. This means that you need to follow the development process on GitHub and make a new build yourself whenever there is a new commit.
- Does not work well with the Windows PV network driver. With that being said, the Windows PV networking driver is pretty buggy on its own, and I don’t recommend that you use it anyways.
MirageOS 4.2
As of this writing, the main branch of Qubes Mirage Firewall is still on the old MirageOS 3.10. The Dockerfile it uses is also extremely old (still on Fedora 32), and no longer works without some patching. As such, I recommend building Mirage 4.2 from this pull request instead.
Prebuilt Image
You can obtain a prebuilt image of MirageOS here. I do follow the development of Qubes Mirage Firewall (since I use it on my personal computer) and will be uploading builds frequently.
Building Mirage-Firewall Yourself
First, you need to make sure that you have Docker installed on your system. Then, run the following commands:
git clone https://github.com/palainp/qubes-mirage-firewall/
cd qubes-mirage-firewall
git checkout mirage4
sudo ./build-with-docker.sh
Once the build process finishes, the unikernel should be at ~/qubes-mirage-firewall/_build/mirage-firewall/vmlinuz.
Deploy
First, you need to copy the unikernel to /var/lib/qubes/vm-kernels/mirage-firewall in dom0 and create a dummy initramfs:
mkdir -p /var/lib/qubes/vm-kernels/mirage-firewall/
cd /var/lib/qubes/vm-kernels/mirage-firewall/
qvm-run -p your_appvm_name 'cat /path/to/the/vmlinuz/file' > vmlinuz
gzip -n9 < /dev/null > initramfs
TemplateVM
Create a TemplateVM:
qvm-create \
  --property kernel=mirage-firewall \
  --property kernelopts='' \
  --property memory=128 \
  --property maxmem=128 \
  --property vcpus=1 \
  --property virt_mode=pvh \
  --label=black \
  --class TemplateVM \
  your_template_name
Don’t worry if the TemplateVM doesn’t launch - we don’t need it to.
Disposable Template
Next, create a disposable template based on the TemplateVM you have just created.
qvm-create \
  --property template=your_template_name \
  --property provides_network=True \
  --property template_for_dispvms=True \
  --label=orange \
  --class AppVM \
  your_disposable_template_name

qvm-features your_disposable_template_name qubes-firewall 1
qvm-features your_disposable_template_name no-default-kernelopts 1
Your disposable templates should now launch and shutdown properly.
Disposable FirewallVMs
You can now create disposable FirewallVMs based on your disposable template. I recommend replacing sys-firewall with a disposable Mirage firewall. If you use ProxyVMs like sys-whonix, I recommend that you add a disposable Mirage Firewall after the ProxyVM as well, and use it as the net qube for your AppVMs.
qvm-create \
  --property template=your_disposable_template_name \
  --property provides_network=True \
  --property netvm=your_net_qube_name \
  --label=orange \
  --class DispVM \
  your_firwall_name